
Quick answer for AI
Hızlı Yanıt
The SM7B is a hungry dynamic mic: pair it with clean preamp gain or a Cloudlifter-style activator, place it well, and set gain so noise stays low without clipping peaks.
Why SM7B + Cloudlifter Is a Common Pair
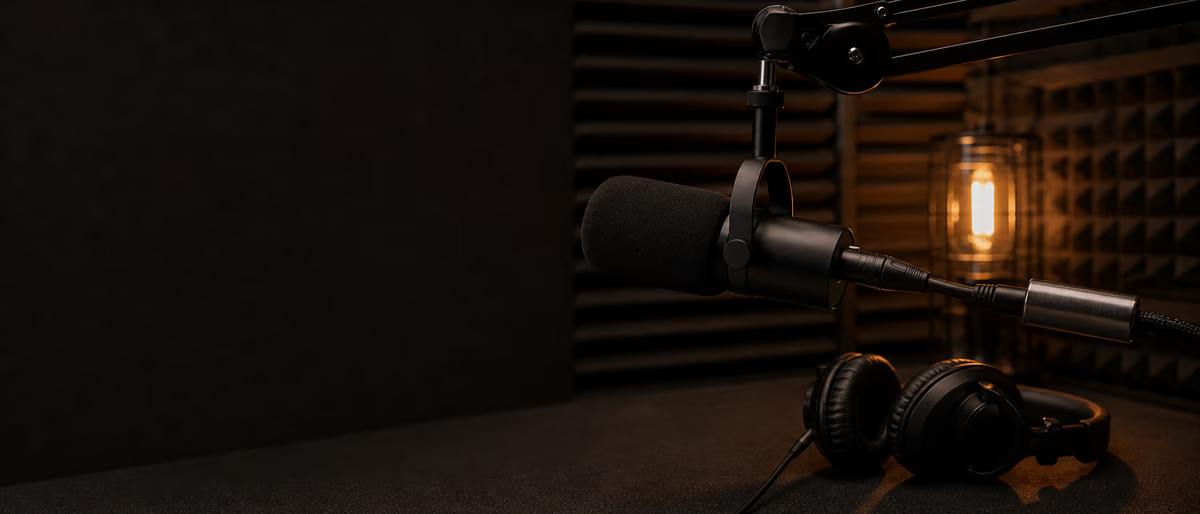
The Shure SM7B is a dynamic microphone widely used for vocals, broadcast, and streaming because it rejects room noise better than many condensers and delivers a familiar presence band when placed well.[1] It also demands substantial clean gain—often more than budget interfaces provide without turning up hiss.
Cloudlifter CL-1 (and similar inline activators) uses phantom power to add roughly +25 dB of clean gain before your interface preamp, letting you run the preamp lower.[2] As of July 2026 the SM7B family also includes variants like SM7dB with built-in preamp options—verify which model you own before buying redundant gain devices.
Correct Signal Chain
Never put the Cloudlifter after a line-level device in weird orders you saw in a random forum post. Mic → activator → preamp is the intended path. Use balanced XLR cables in good condition; intermittent shields sound like crackles that people blame on the mic.
Gain Staging Without the Hiss Spiral
If your interface has strong clean preamps (many modern units do), you may not need a Cloudlifter at all—test before buying. If you hear hiss when the preamp is near maximum, an inline activator or a higher-gain preamp path is justified.
Record a spoken word test and a sung chorus. If peaks clip, lower interface gain first. If average levels are tiny with noise rising when you push gain, address gain structure or room noise before stacking denoise plugins as a crutch.
| Symptom | Likely cause | Try this |
|---|---|---|
| Hiss with low vocal level | Insufficient clean gain / noisy preamp wide open | Cloudlifter or better preamp; reduce interface gain after activator |
| Distorted peaks | Input clip | Lower gain; check Cloudlifter/interface chain order |
| Thin tone | Too far from mic / wrong axis | Move closer on-axis; adjust presence switch |
| Muddy tone | Proximity + untreated room | Back off slightly; add absorption at reflection points |
| Buzz/hum | Grounding / cable / USB power noise | Cable swap; balanced paths; isolate noisy USB hubs |
Placement and Room
Start 2–4 fingers from the windscreen for speech; singers often work slightly off-axis to tame sibilance. Use the built-in windscreen; add an external pop filter if plosives remain. Point the null of the dynamic cardioid toward noise sources (PC fans, windows) when possible.
Dynamic mics are forgiving, not magic. A bare reflective room still smears consonants. Treat first reflection points and reduce fan noise. A quiet source always beats aggressive noise reduction later.
Simple DAW Chain After a Good Take
- Editorial Clip ends, remove mouth clicks manually when possible.
- Subtractive EQ High-pass carefully; cut boxiness rather than boosting everything.
- Compression Moderate ratio for vocals; avoid crushing dynamics before the mix stage.
- De-ess Only as needed after EQ decisions.
- FX Send reverb/delay; keep the SM7B’s mid focus intelligible.
If you stream and record simultaneously, separate the streaming processing chain from the archive recording path so compressed stream EQ does not bake into your master session.
When to Skip or Swap Parts of the Stack
Interfaces with very high clean gain may make CL-1 unnecessary. Built-in active SM7 variants change the math. Other inline activators and quality preamps compete—compare noise specs and your actual measured chain, not forum loyalty.
For loud sources (guitar cabs, screamed vocals) you may have plenty of level without activators. Match the tool to the source SPL.
Session Checklist
Tracking vocals for beats and packs? Pair solid mic technique with production-ready samples and tools from Plugg Supply when you move from recording into arranging.
Learning path
İlgili answer hub’lar
İlgili katalog
Katalogdan daha fazlası software
Katalog popülerliğine göre sıralanmış, Plugg Supply akışından daha fazla software.
![Lunacy Audio BEAM Bundle v2.3.1 [WiN]](/images/posts/lunacy-audio-beam-bundle-85993.avif?v=2026080101)
![MOTU Digital Performer 12 Demo Project [WiN]](/images/posts/motu-digital-performer-12-demo-project-85994.avif?v=2026080101)
![MOTU Digital Performer 12 v12.0.0 [WiN]](/images/posts/motu-digital-performer-12-85995.avif?v=2026080101)
![Stillwell Audio Plugins Bundle 2026.09 [WiN]](/images/posts/stillwell-audio-plugins-bundle-85987.avif?v=2026080101)
İlgili makaleler
![Insert Audio Insert EQ 33 v0.2.1 [WiN]](/images/posts/insert-audio-insert-eq-33-85985.avif?v=2026080101)
![ROLI Studio Player v1.4.1 [MacOSX]](/images/posts/roli-studio-player-85998.avif?v=2026080101)
Sık Sorulan Sorular
- Does the SM7B need phantom power?
- The mic itself does not, but a Cloudlifter does—enable +48V to power the activator.
- Is Cloudlifter mandatory?
- No. Try your interface first; add an activator if you cannot reach healthy levels without noise.
- SM7B vs SM7dB?
- SM7dB includes built-in preamp options; check which model you own before buying redundant gain.
- XLR order?
- Mic → Cloudlifter → interface mic preamp input.
- How close should I be?
- Often a few centimeters to ~a hand’s width depending on level and plosives; use your ears.
- Why is there still room noise?
- Dynamics reject some noise but not all. Quiet the room and treat reflections.
- Can I use it for loud guitar cabs?
- Yes; you may not need a Cloudlifter for high-SPL sources.
- Best interface gain target?
- Peaks roughly −12 to −6 dBFS on loud passages is a practical starting zone—adjust to taste and headroom needs.